hi everyone! i've gotten a few requests to make a tutorial for my chatbox, so here it is!
i coded this chatbox instead of using a service like cbox so i could have full control over the design and functionality.
the current functions of this chatbox are:
 real time messaging
ability to link a website to a username
150 character limit for messages
emoji picker and ability to use emoji codes in the message input box
timestamps
clickable links within messages
load older messages button (loads batches of 20 messages at a time)
real time messaging
ability to link a website to a username
150 character limit for messages
emoji picker and ability to use emoji codes in the message input box
timestamps
clickable links within messages
load older messages button (loads batches of 20 messages at a time)
this project uses html, css, javascript, and a database server.
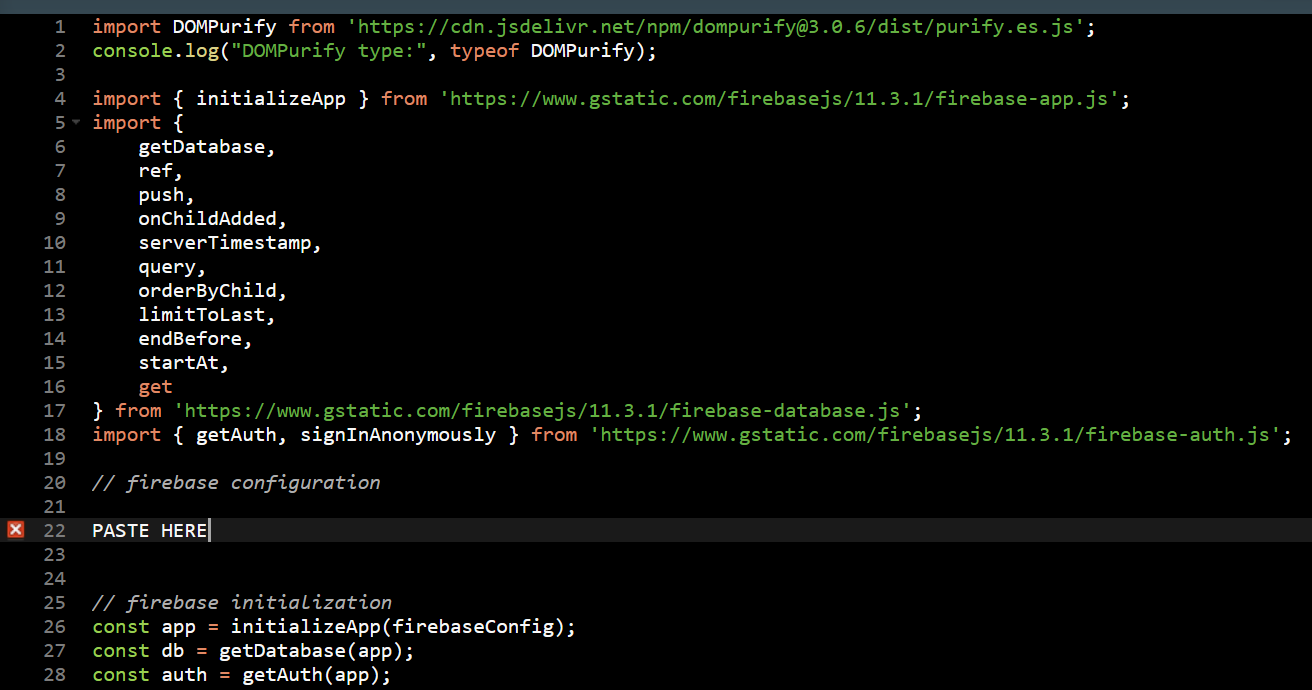
before we begin, you will need to create a "chat.js" file in your neocities website dashboard. copy the following into the file:
we will be using firebase for this chatbox, as it is the easiest and most hassle-free real-time database server. firebase lets you store your messages in the cloud, update all users instantly, and avoid having to use php. the free tier (called spark) for firebase includes:
1 gb storage
50k reads/day
20k writes/day
the 1 gb storage cap is enough for low traffic static sites like neocities or nekoweb as it allows around 2-4 million messages, depending on the size of the message. after you hit the 1 gb cap, messages will no longer write until you upgrade your firebase plan ($5 per gb added). if you have a LOT of traffic on your site and have a very very active chatbox and are in need of more messages but don't want to pay, there is a way to implement an auto-trimming function to your chatbox javasript code, however, doing this will delete your oldest messages. i will add a section for how to do that if anyone asks.
step 1: create your firebase project (this is the hardest part of the whole tutorial)
1. go to firebase console.
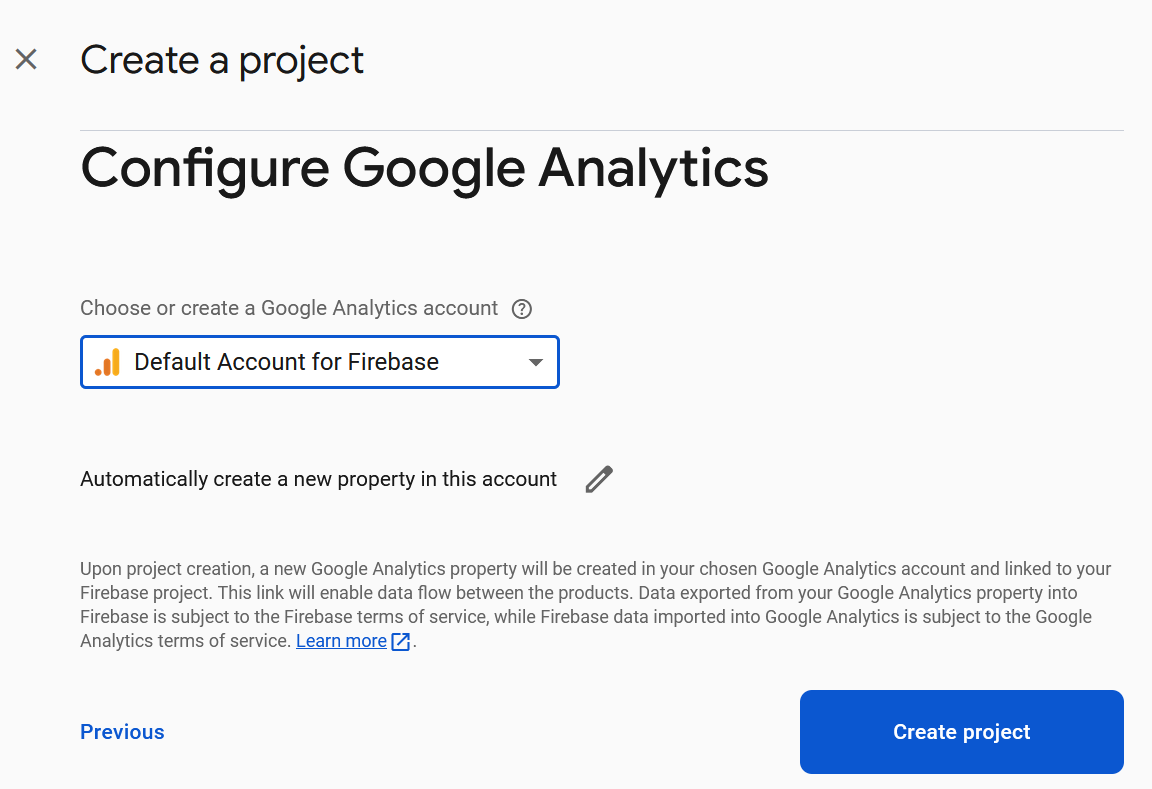
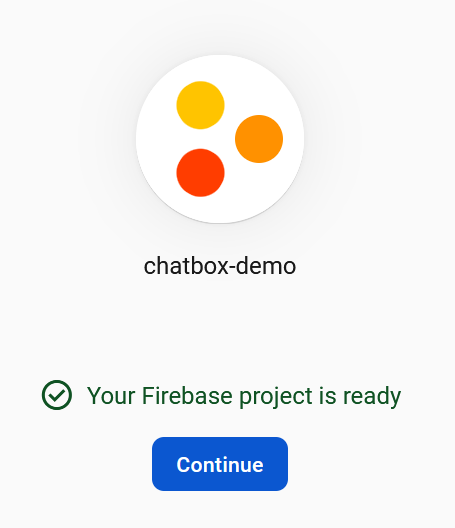
2. create a new project and name it anything you want. i named mine "chatbox-demo".

3. once the project is ready, hit continue, scroll down, and click on authentication. from there, click on get started, and it shold take you to the "sign-in method" tab.
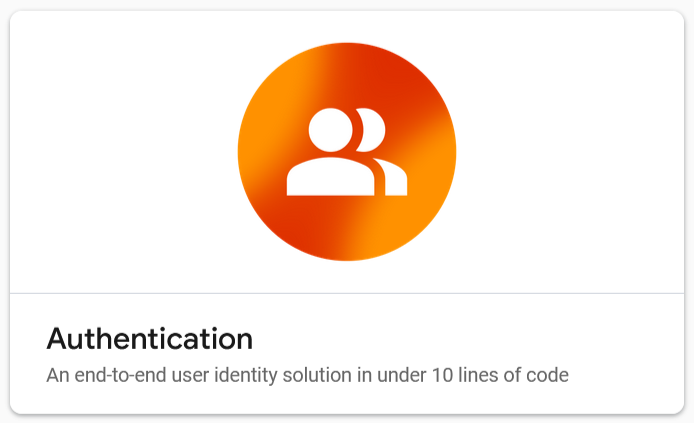
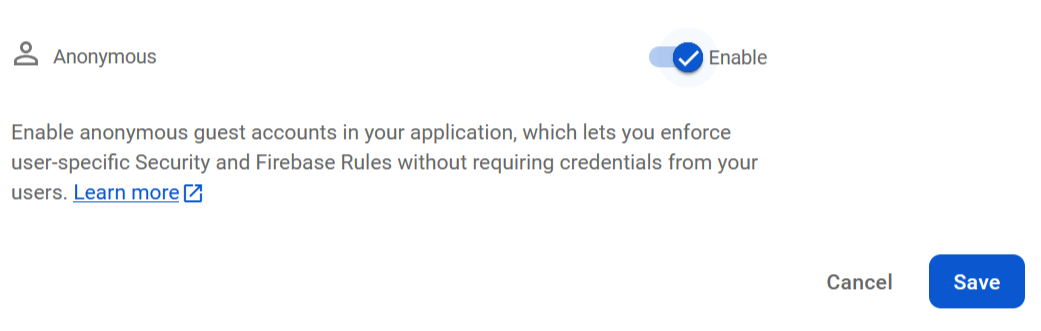
4. under "native providers" click on "anonymous". enable it and save. this allows users to write messages without needing an account.


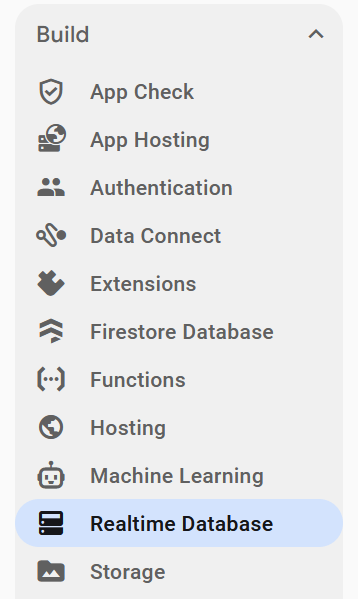
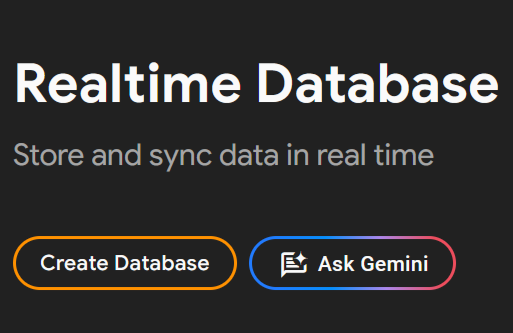
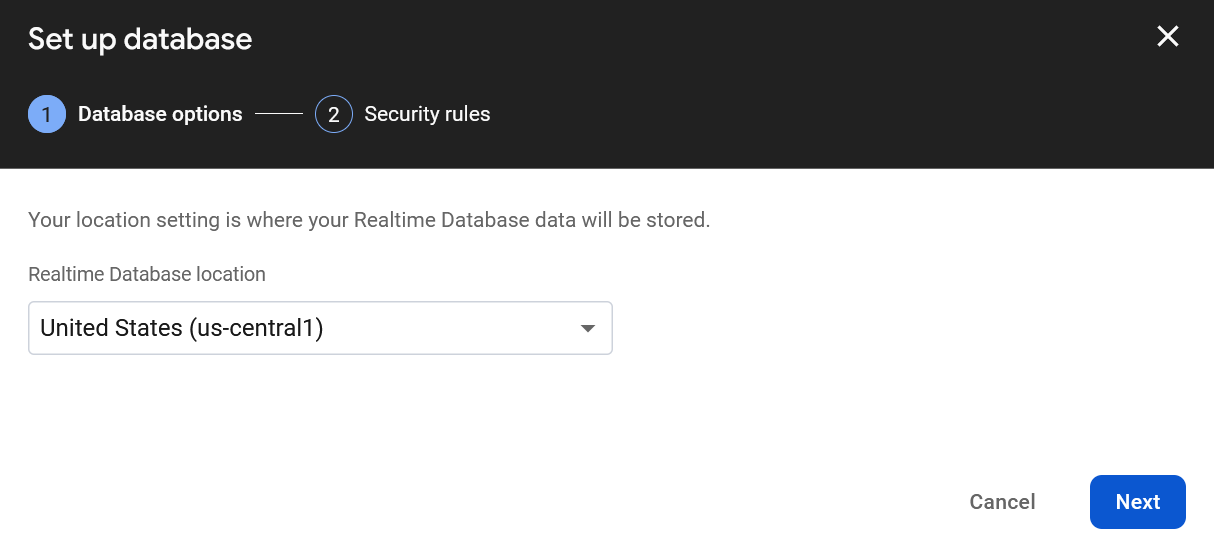
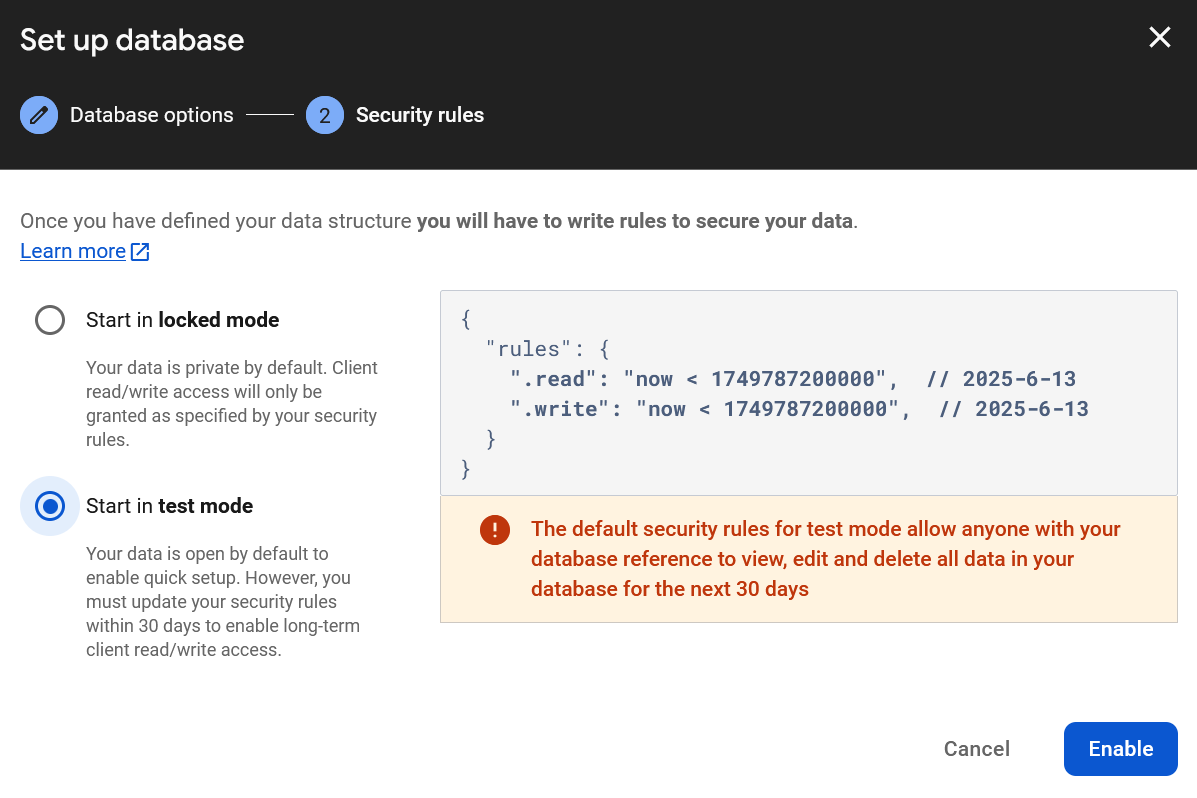
5.on the left sidebar, click on the "build" dropdown menu and scroll to "realtime database". click on it and hit "create database". for your location, use united states. for security rules, click on "start in test mode". this means anyone can read or write to yor database, which is what we want for your website :) we are using DOMPurify for security and to sanitize messages. hit enable and it should take you to your database's "data" tab.
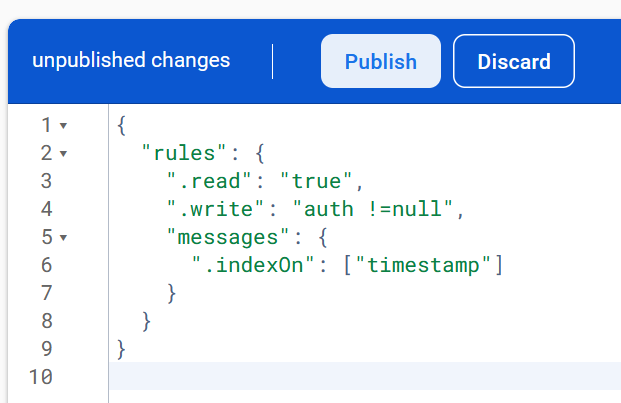
6. go to the "rules", tab and replace what's there with the following:
and hit publish.
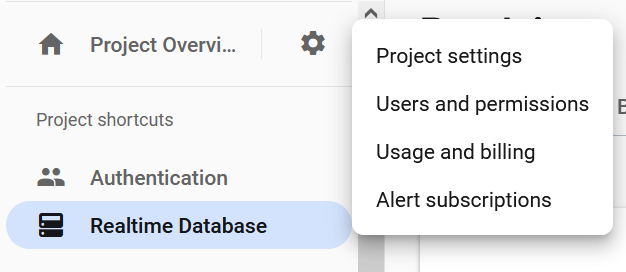
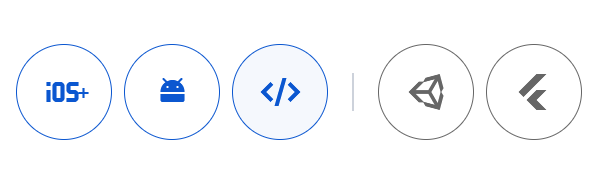
7. from here we need to click on the gear icon next to "project overview" at the top of the left sidebar and go to "project settings". scroll down to "your apps" and click on the 3rd option (the brackets) to create a web app.
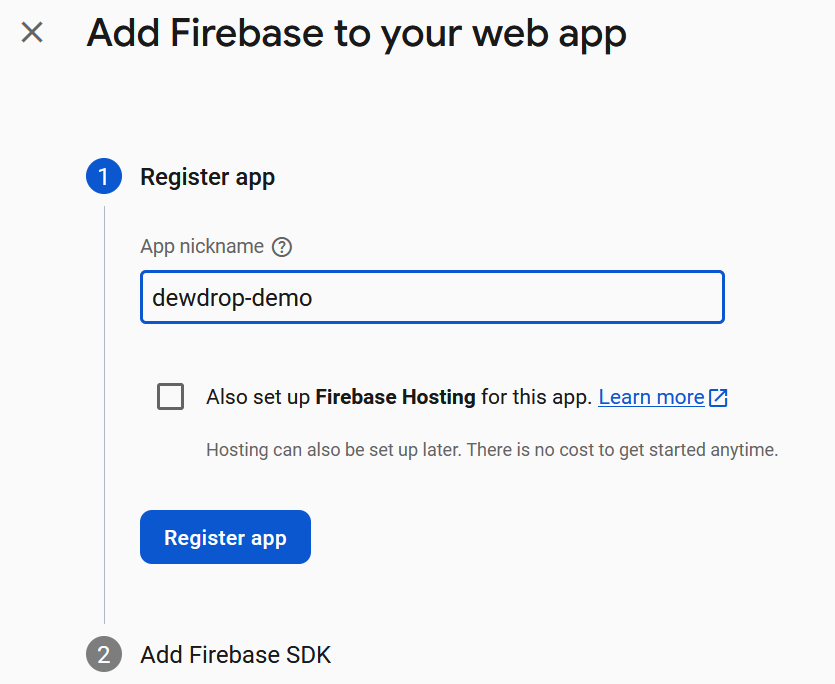
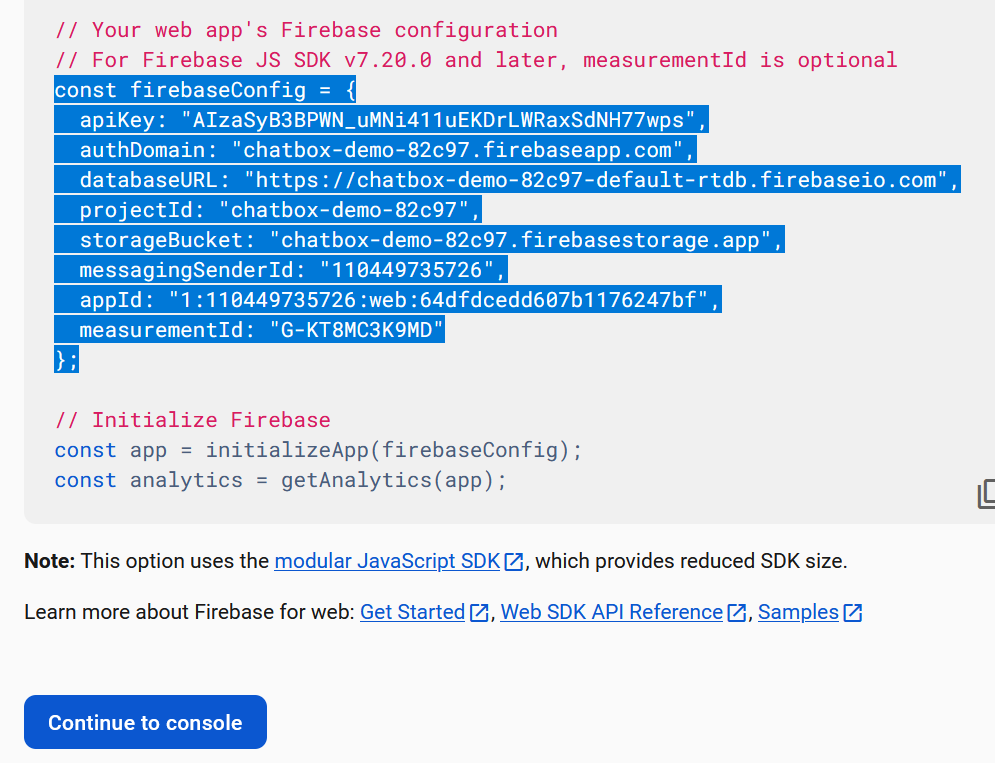
8. create a nickname for the app. i named mine "dewdrop-demo". click on "register app" and you should get a chunk of code. scroll to "const firebaseConfig = {" and copy that whole chunk. paste it into your chat.js file under the //firebase configuration section (near the top).
WAHOO!!!!!!!! your chatbox is connected to your database!! now we just have to link all the files together :)
step 2: integrating the chatbox into your webstite
1. now that you have your chatbox javascript file ready and connected to your firebase database, we need to link it into your html file. wherever you want to place the chatbox, copy and paste the following:
<div id="chat-container-main">
  <div id="chat-title">
    <p> chat </p>
  </div>
  <div id="chat-container">
    <button id="load-older-button">load older</button>
    <ul id="chat-messages"></ul>
  </div>
  <div id="username-container">
    <div id="username-input-section">
      <div class="input-wrapper">
        <input type="text" id="username-input" placeholder=" enter username ">
        <input type="text" id="website-input" placeholder=" website (optional) ">
      </div>
      <div id="button-container">
        <button id="set-username-btn"> set! </button>
      </div>
    </div>
    <div id="welcome-message">
      <div class="welcome-text">
        <span>welcome!</span>
        <span class="username-display" id="display-username"></span>
      </div>
      <img src="https://files.catbox.moe/m0id8v.gif" class="welcome-image">
    </div>
  </div>
  <div id="chat-controls">
    <div class="input-group">
      <textarea id="chat-input" placeholder="type a message..."></textarea>
      <div id="char-counter" class="char-counter">0/150</div>
    </div>
    <div class="button-group">
      <button id="send-button">
        <div id="send-text">send!</div>
      </button>
      <button id="emoji-button" type="button">
        <div id="emoji-content">
          <img src="https://files.catbox.moe/486fxr.png" style="width: 18px; height: 18px;">
        </div>
      </button>
    </div>
    <div id="emoji-picker" class="emoji-picker"></div>
  </div>
</div>
<script type="module" src="/chat.js"></script>2. create another html file named "emoji-picker.html". this is where all your emoji buttons will live. delete everything in the file and paste the following:
this will be your first emoji! use this template to create the rest of the emojis you want:
you are able to use pngs and gifs.
note: all emoji codes must be unique.
3. copy the following to the bottom of your main css file:
this is the all the current styling of the chatbox! you can play with the images, colors, shapes, and fonts as you wish sire
please credit me if you use this tutorial!